Skip to Content
Free Shipping over X amount


Sale Specialsview all
- Sale
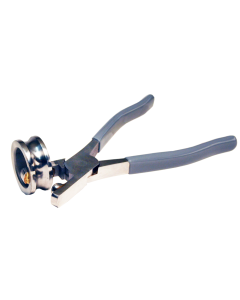
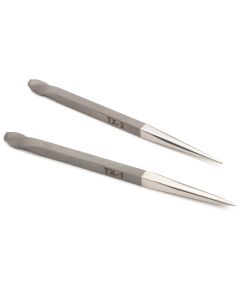
Cylinder Anticlastic Pliers
Special Price $29.90 Regular Price $37.89 - Sale

Small Anticlastic Pliers 5/16"
Special Price $29.91 Regular Price $37.89 - Sale
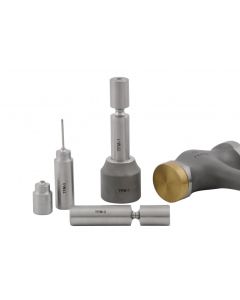
Fretz TFS Tube Flaring Set for Bead Spacers
Special Price $122.80 Regular Price $153.45 - Sale
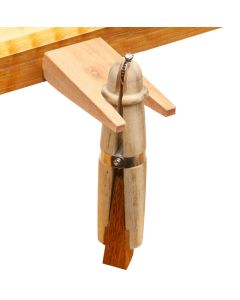
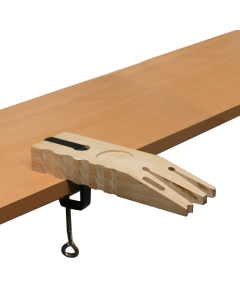
Mahogany Ring Clamp and Bench Pin Set
Special Price $11.50 Regular Price $13.95 - Sale
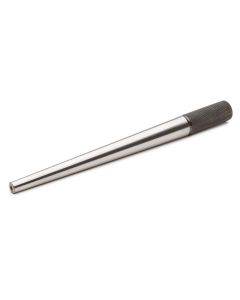
Economy Unmarked Ring Mandrel
Special Price $6.25 Regular Price $8.95 - Sale
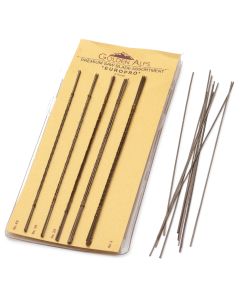
Golden Alps Saw Blade Assortment
Special Price $4.90 Regular Price $5.44 - Special
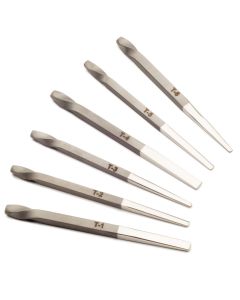
Fretz T-Series Tracers Chasing Set
Special Price $71.96 Regular Price $79.95 - Closeout
Beadsmith® Bracelet Maker Pliers
Special Price $9.99 Regular Price $15.69 - Sale
Superior Quality Bezel Mandrels
Starting at $17.90
-
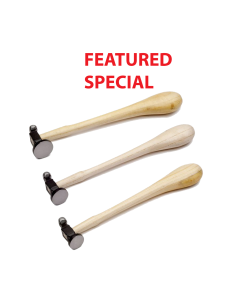
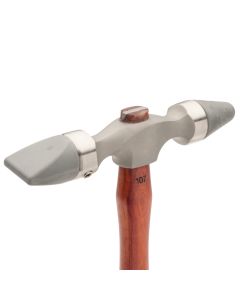
Economy Flat Face Chasing Hammers
Starting at $9.80
- Sale
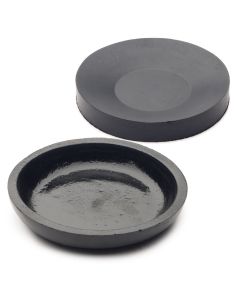
Shallow Pitch Bowl and Pad
Starting at $19.81
- Closeout
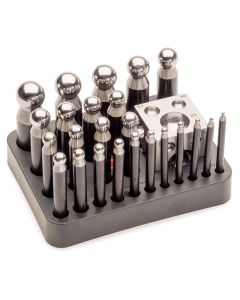
2.3 to 25 mm Economy Dapping Punch & Die Set
Special Price $33.90 Regular Price $48.80 - Sale
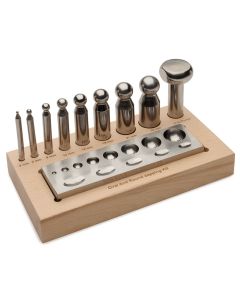
3 to 24 mm Round and Oval Dapping Tool Set
Special Price $57.80 Regular Price $62.75 - Sale

Vertical Vise Set with Forming Mandrels
Special Price $155.80 Regular Price $164.00 - Sale
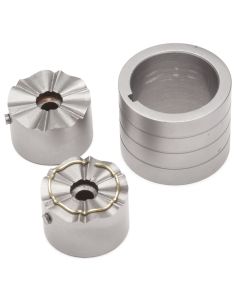
Ring & Hoop Forming Presses
Starting at $26.82
- Sale
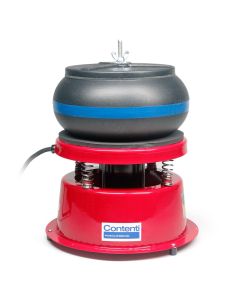
VFM20 Vibratory Finishing Machine
Starting at $98.80
- Special
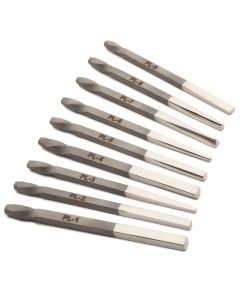
Fretz PL-Series Planishing Repoussé Set
Special Price $98.06 Regular Price $108.95 - Special
Fretz TX-Series Texture Repoussé Set
Special Price $21.09 Regular Price $24.25 - Closeout
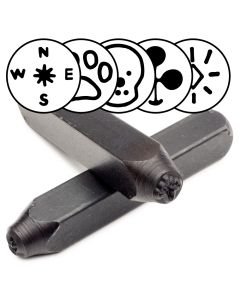
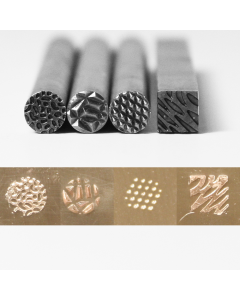
Design Metal Stamps (6 mm)
Starting at $1.45
- Sale
Fretz HMR-107 Large Nylon Insert Hammer
Starting at $23.16
- View All
Newest Productsview all
-
New2024-04-11 00:00:00
Potters no. 10 Mil Spec Glass Beads (Ballotini)
$88.60 -
New2024-04-11 00:00:00
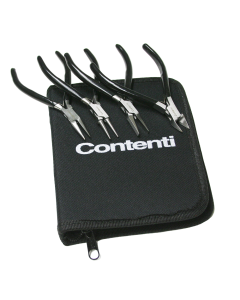
Lightweight Economy Pliers Set with Case
$16.30 -
New2024-04-11 00:00:00
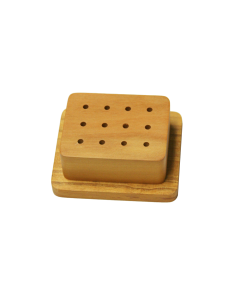
Wood Bur Stand
$7.25 -
New2024-04-11 00:00:00
Magnetic Wand Media Separator
$46.90 -
New2024-04-11 00:00:00
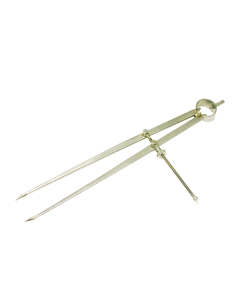
12" Square Leg Dividers
$34.50 -
New2024-03-27 00:00:00
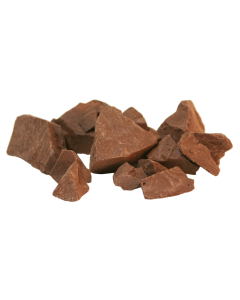
California Red Chaser’s Pitch
$21.99 -
New2024-03-21 00:00:00
Nicem® Back Ultra-High Tear Silicone Mold Rubber
Starting at $39.80
-
New2024-03-21 00:00:00

Principles of Centrifugal Rubber Mold Casting
$89.00 -
New2024-03-11 00:00:00
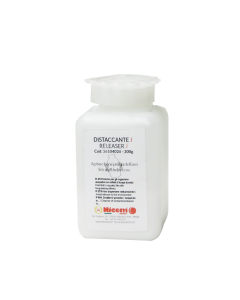
Nicem® Type J Resin Release
$85.00 -
New2024-03-11 00:00:00
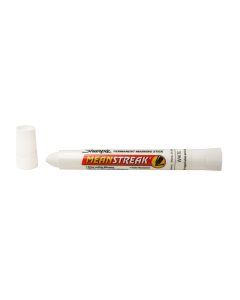
Sharpie® Mean Streak Permanent Marker, White
$9.20 -
New2024-02-29 00:00:00
Multi-shape Titanium Soldering Pick Set of 3
$12.25 -
New2024-02-28 00:00:00
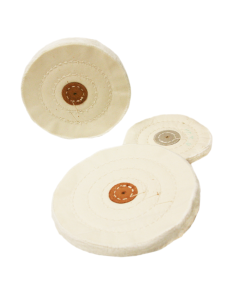
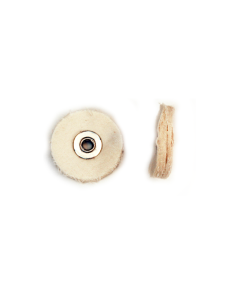
Extra Fine Muslin Buffs with Leather Centers
Starting at $2.90
-
New2024-02-28 00:00:00
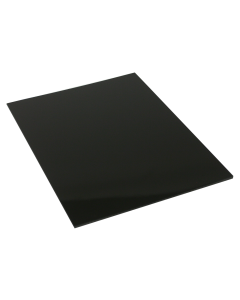
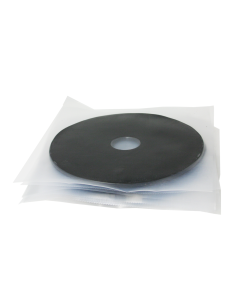
Art Clay Rigid Work Surface
$6.89 -
New2024-02-28 00:00:00
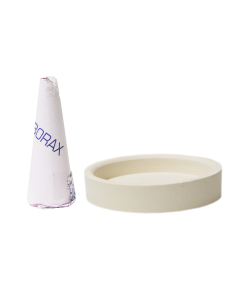
Borax Cone and Ceramic Dish
Starting at $5.95
-
New2024-02-06 00:00:00
Multi-Function Double Sided Bench Pin
$16.90 -
New2024-01-25 00:00:00
Miniature Fine Muslin Buff 1” x 30 Ply
Starting at $2.97
-
New2024-01-23 00:00:00
Rounded End Magnetic Pins
Starting at $28.60
-
New2024-01-18 00:00:00
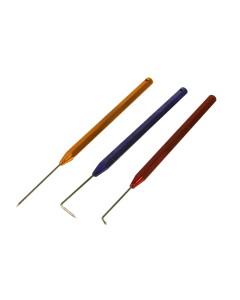
Texturing Tool Set
$22.95 -
New2024-01-18 00:00:00
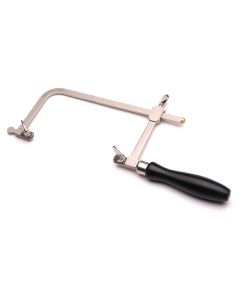
German Style Economy Jeweler’s Saw Frame
Starting at $9.45
-
New2024-01-17 00:00:00
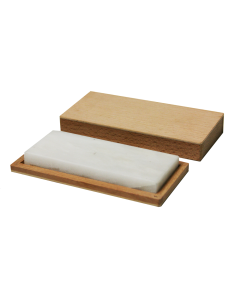
Very Fine Arkansas Bench Stone
$59.50 - View All